UsingYourDisplay
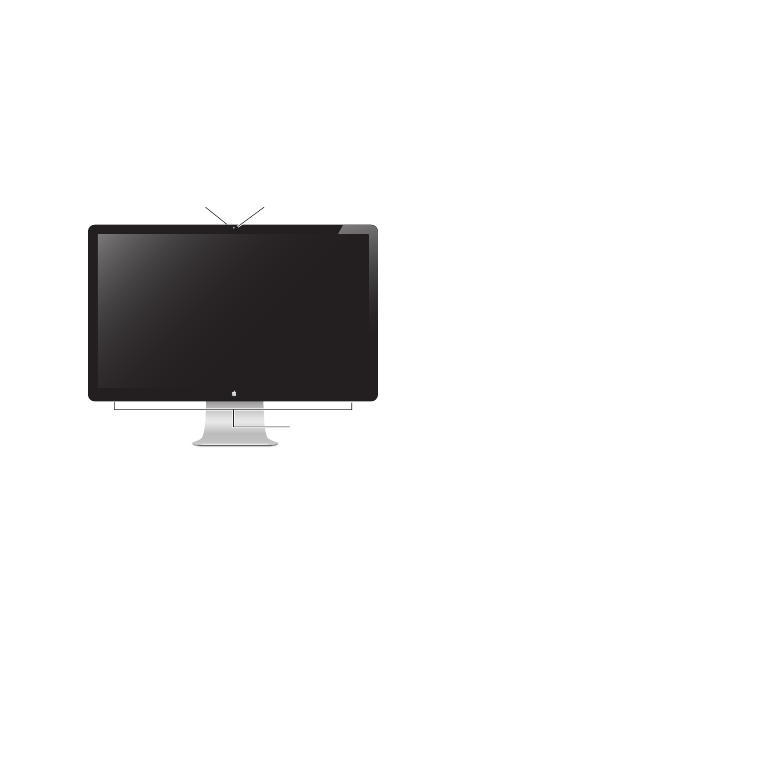
Your Apple LED Cinema Display has a built-in iSight camera, microphone, and speaker
system. The USB connection between the display and your computer is required for
these features.
Speaker system
Microphone
Built-in
iSight camera
Using the Built-in iSight Camera and Microphone
You can use the built-in iSight camera and microphone to capture still images, video,
and sound using applications such as iChat, iMovie, and Photo Booth.
To set up the camera and microphone with iChat:
1
Click the iChat icon in the Dock to open the iChat application.
2
Choose iChat > Preferences, and then click Audio/Video.
3
Choose Display iSight from the Camera pop-up menu.
4
Choose Display Audio from the Microphone pop-up menu.

9
English
Setting Up Sound Input and Output
You can listen to music, movies, games, and multimedia files through the speaker
system on your display. You can use the microphone to record sounds, or talk with
friends using iChat. Use Sound preferences to manage sound input and output.
To set up sound input:
1
Choose Apple () > System Preferences, and then click Sound.
2
Click the Input tab in Sound preferences.
3
Choose Display Audio to input sound through your display’s microphone.
To set up sound output:
1
Choose Apple () > System Preferences, and then click Sound.
2
Click the Output tab in Sound preferences.
3
Choose Display Audio to hear sound through your display’s speaker system.
If your Mac computer supports sound output through the Mini DisplayPort in addition
to the USB port, you can choose either Mini DisplayPort or USB Audio for audio output.
These sound settings are used whenever your computer is connected to your display.
They remain in effect until you change them.

10
English
Setting Up Your Apple LED Cinema Display as an Additional Display
When you leave the lid on your MacBook open, you can mirror the same desktop
image on both displays or use the additional display as an extension of your desktop.
Use Displays preferences to set up video mirroring or extended desktop.
To set up video mirroring or extended desktop:
1
Choose Apple () > System Preferences, and then click Displays.
2
Click the Arrangement tab and follow the onscreen instructions.
Adjusting the Resolution, Brightness, and Color
Your Apple LED Cinema Display can automatically adjust the screen brightness for
current light conditions using the built-in ambient light sensor. You can turn auto-
brightness on or off in Displays preferences.
To change the resolution or brightness:
1
Choose Apple () > System Preferences, and then click Displays.
2
Choose a resolution or drag the Brightness slider.
You can also use the brightness keys on an external Apple Keyboard to increase ( ) or
decrease ( ) the brightness of your display.
To change the display color profile or calibrate your display:
1
Click the Color tab in Displays preferences.
2
Choose a display color profile, or click Calibrate to open the Display Calibrator Assistant.
For more information about calibrating your display, choose Help > Mac Help in the
menu bar and search for “calibrate.”

11
English
Using the USB Ports and Security Slot
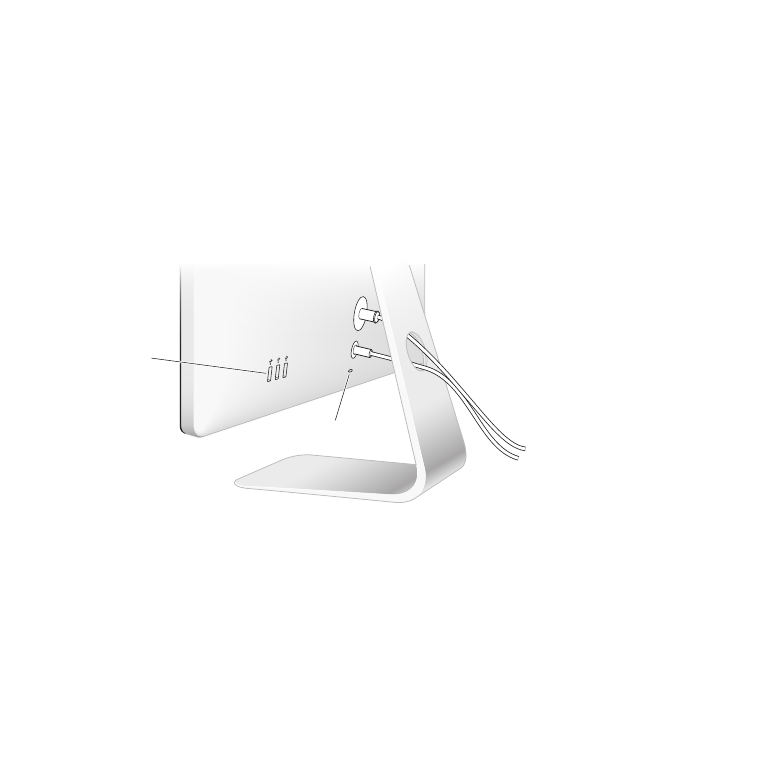
Your Apple LED Cinema Display has three powered USB ports on the back. Use these
ports to connect a mouse, keyboard, iPhone, iPod, or other USB peripheral.
Important:
You can use these USB ports to charge your iPhone or iPod, even when
your display isn’t connected to a computer. If you use one of these ports to sync
information between your computer and an iPhone or iPod, make sure the display’s
USB cable is connected to your computer.
Security slot
USB ports
To secure your display, attach a locking cable to the security slot.

12
English
Using a VESA Mounting Solution with Your Display
You can attach your display to an alternative mounting solution, using the VESA Mount
Adapter Kit available from the Apple Online Store at www.apple.com/store. Use the
kit to attach your display to any available VESA-compatible mounting solution. Simply
follow the instructions included with the kit.